I love sunflowers! So when the Sunflower 3D Embossing Folder came out I knew I needed it in my life. https://www.stampinup.com/products/sunflower-3d-embossing-folder?demoid=2311688
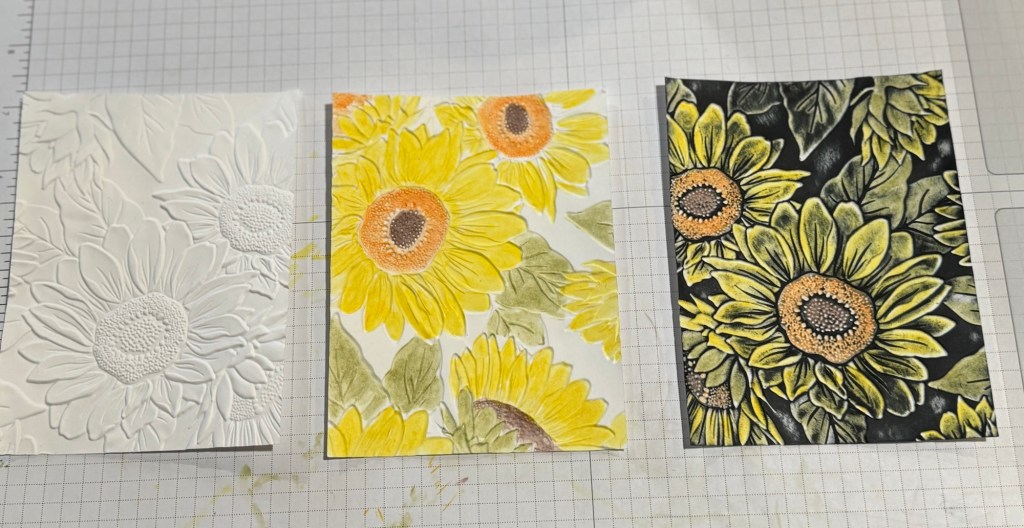
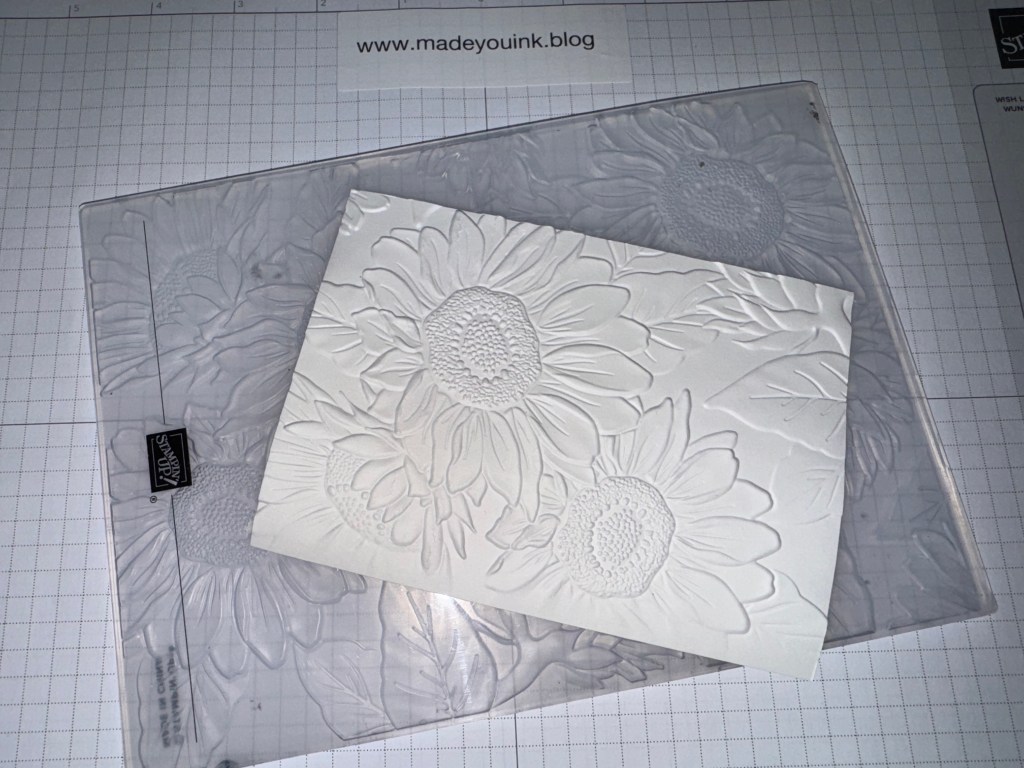
It is stunning just the way it is
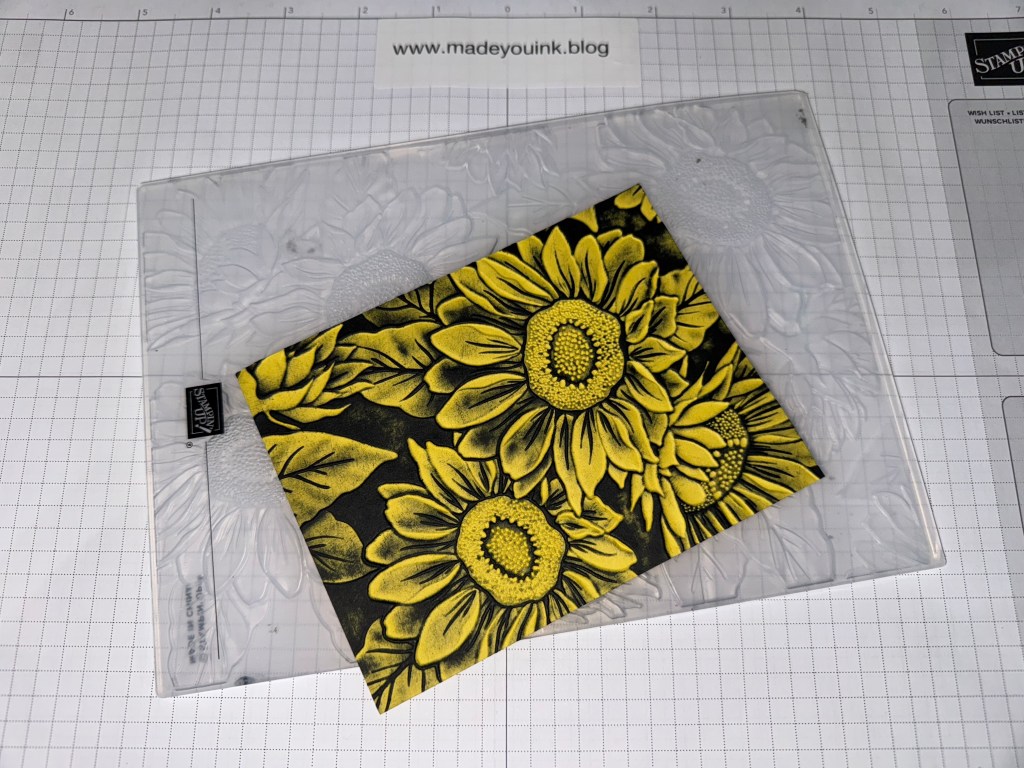
But wait….theres more! Here it is on Daffodil Delight https://www.stampinup.com/products/cardstock-8-1-2-x-11-daffodil-delight?demoid=2311688 cardstock with black ink rubbed over it 🤩
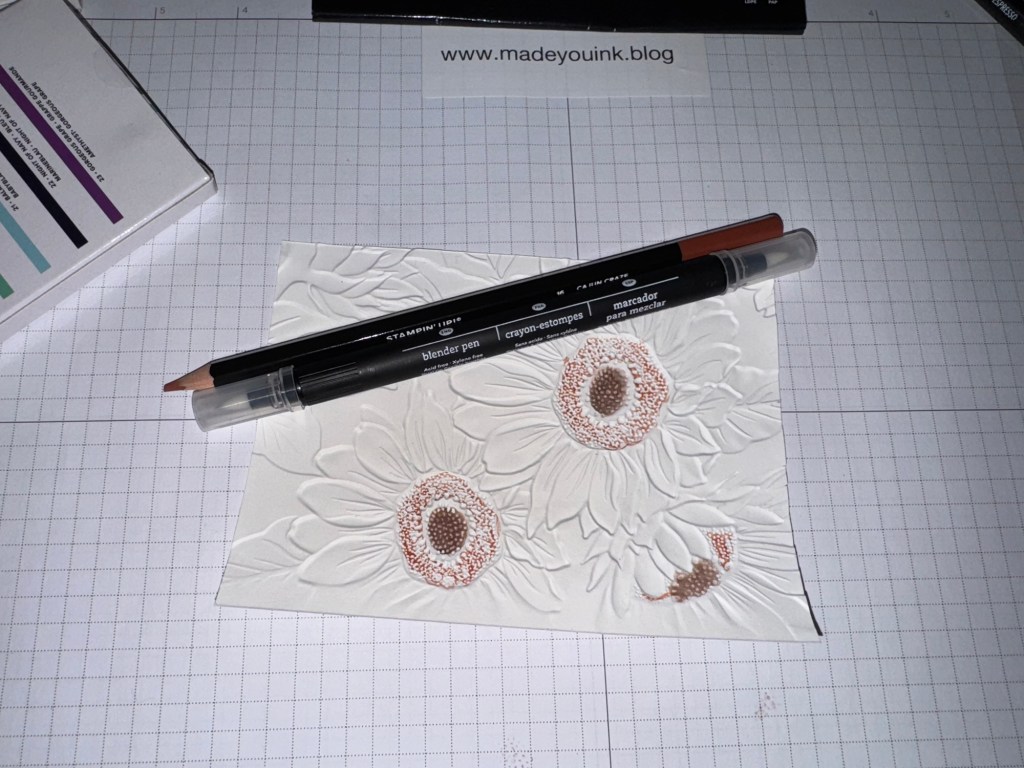
and here is the technique I’m sharing today

You’re going to need your colored pencils https://www.stampinup.com/products/watercolor-pencils-assortment-2?demoid=2311688 and Blender Pens https://www.stampinup.com/products/blender-pens?demoid=2311688
First step is to run white cardstock through your Stampin’ Cut & Emboss Machine https://www.stampinup.com/products/stampin-cut-emboss-machine?demoid=2311688 with your Sunflower 3D Embossing Folder. This Folder is deeper than your average Folder and it’s MUCH larger. You can get two 5 1/4 X 4 card fronts out of it!
Pro Tip: Lightly spray your cardstock with water before running it through, your paper won’t crack as easily in the deep grooves.
Next step is one I miss. A lot. TURN YOUR CARDSTOCK OVER.
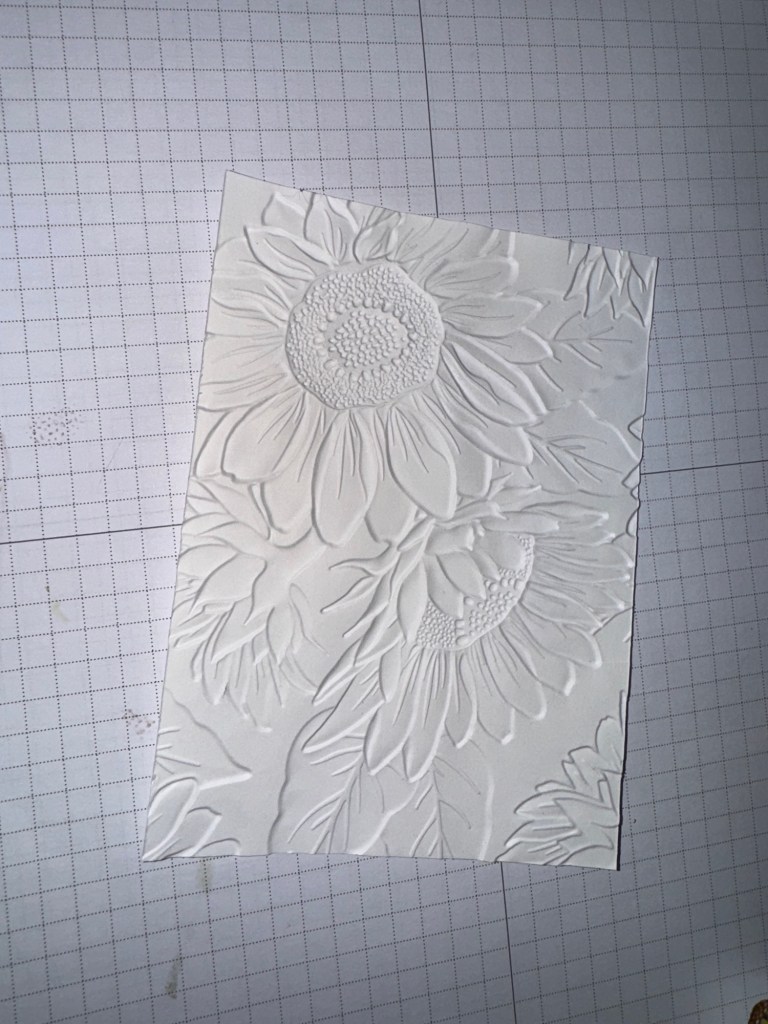

You want to color in the recessed parts, blend with your Blender Pen and then move to the next color.
Your final step is going to be to run your ink pad over the entire image. Black or brown are both great options depending on the card you’re making but the choices are endless.
I’ll be posting more of this Folder soon for sure!
Happy Stamping!


Leave a comment