Actually, you could do these for any holiday, heck, they’d be great little gifts for Baby Showers too! These little sweet treats are fast, easy, inexpensive and the options are limitless. I am on a mission to use up all my existing cardstock and designer series paper (HAHAHAHAHA) so a lot of the things pictured here are retired but the method still applies.
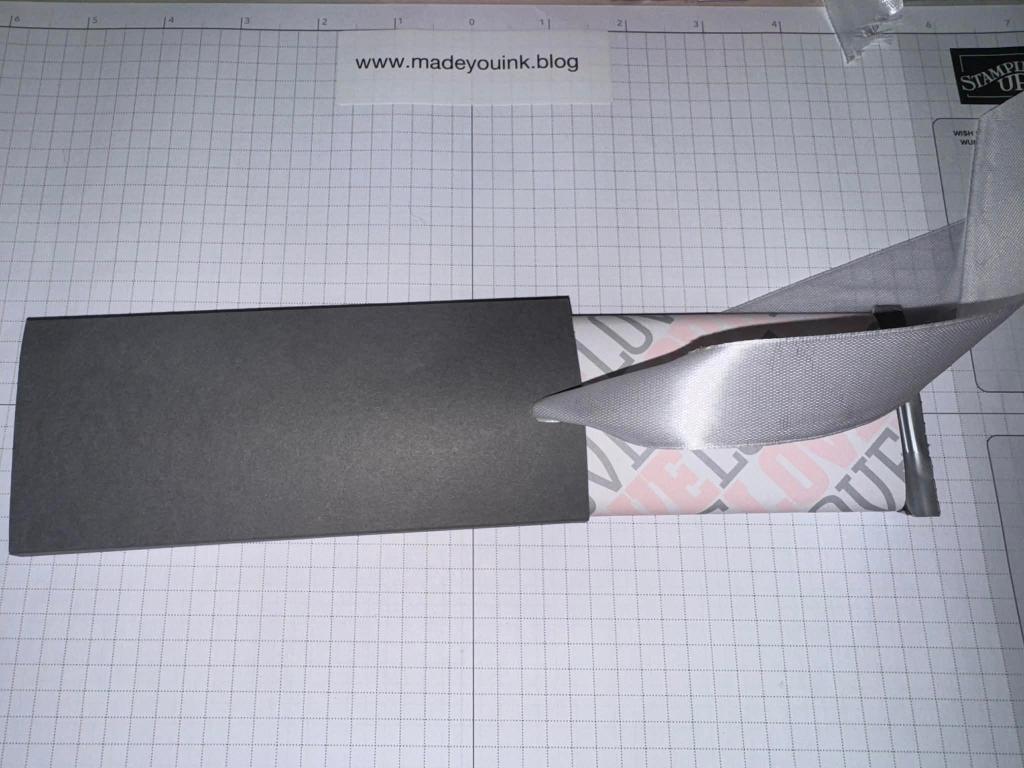
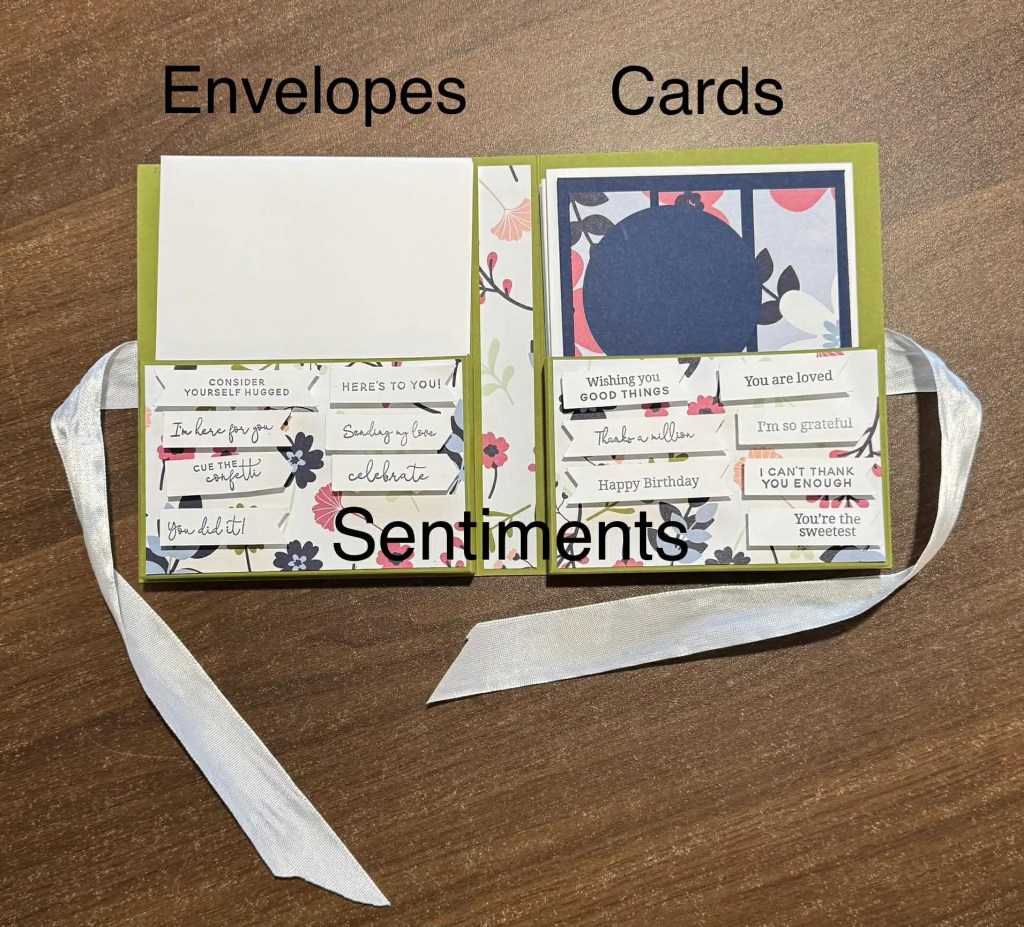
Here’s how it opens:
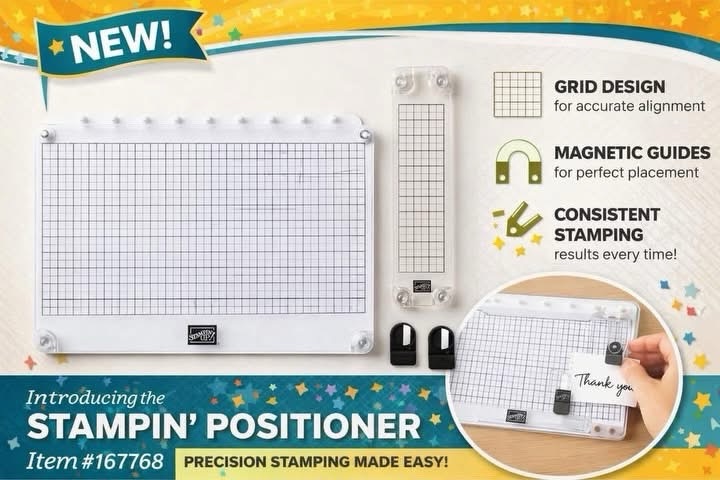
You’ll need just a few must haves from Stampin’ Up! but not a ton for this.
Stampin’ Seal https://www.stampinup.com/products/stampin-seal?demoid=2311688
Tear Tape Adhsive https://www.stampinup.com/products/tear-tape-adhesive?demoid=2311688
Stamps, embellishments and ribbon.
The Hershey Bars are 1.55 oz (43g) for this template but you could easily adjust to fit larger candy bars 🙂
OK, once again, lot of pictures in this one. But I just got this super cool ring light that holds my phone so look for technique videos soon!
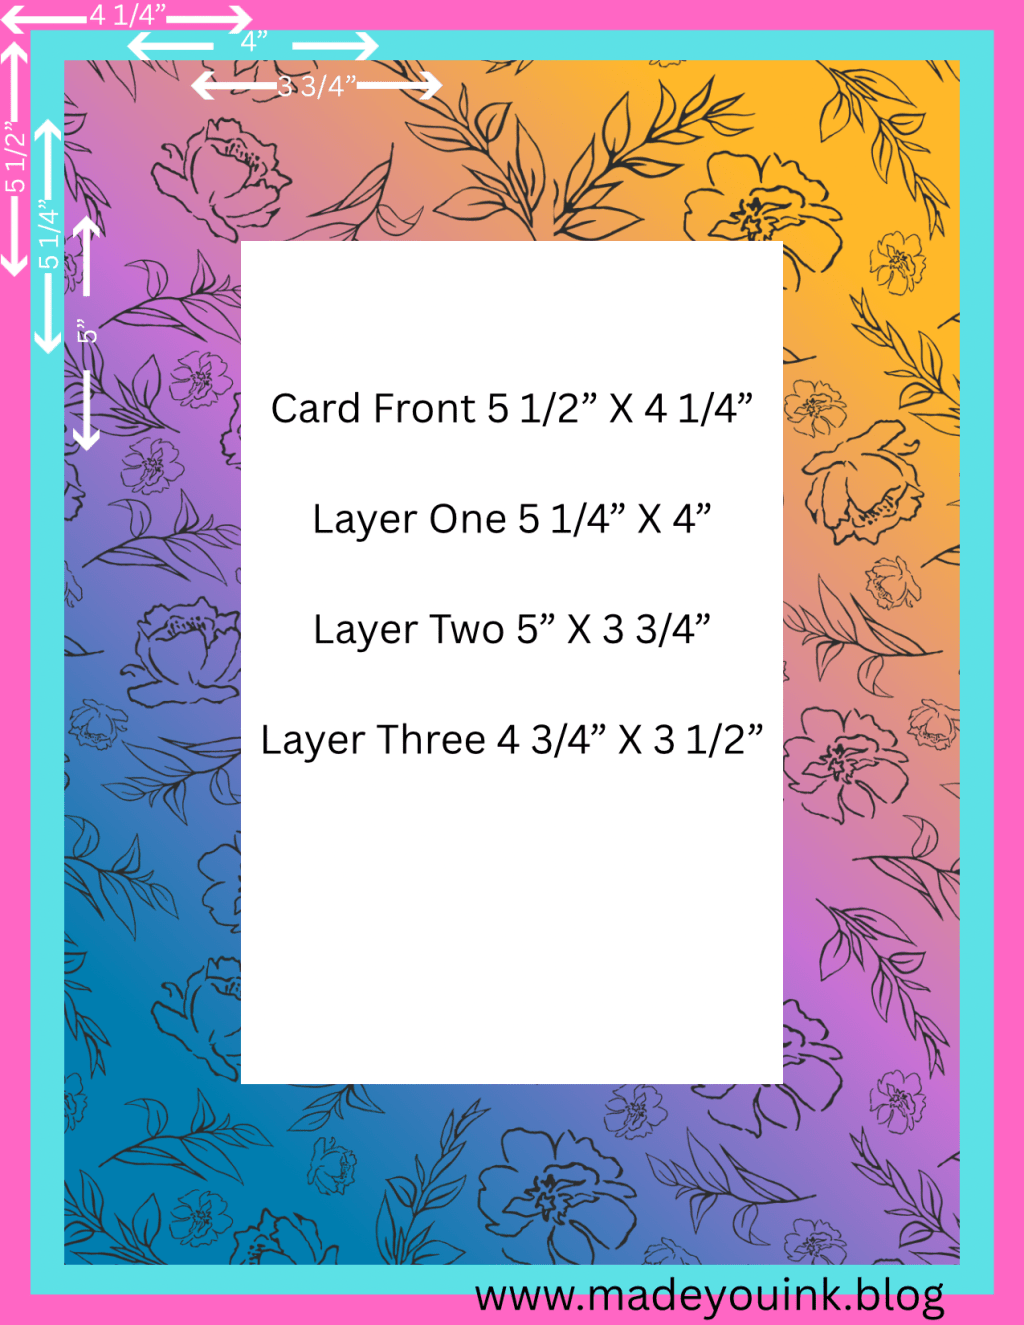
You’re going to start with your cardstock cut to 6″ X 6″
Score on one side only at 2 1/2″, 2 3/4″, 5 1/4″ and 5 1/2″

Then you’re just going to use your tear tap on the little half inch panel.

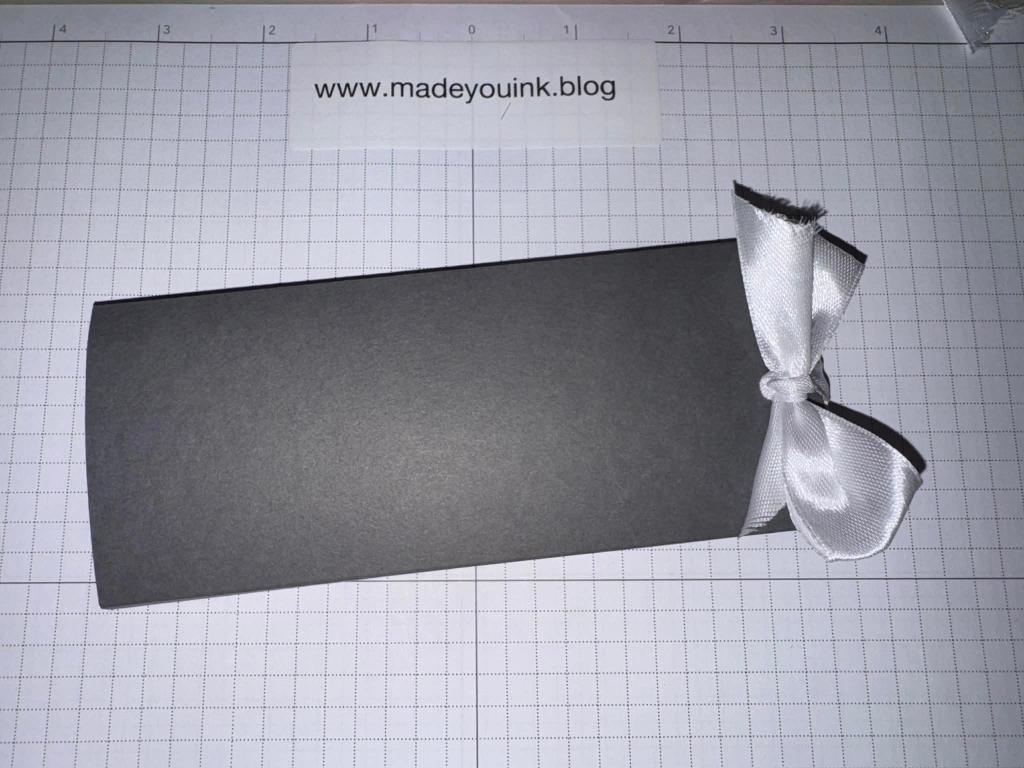
Fold it all up and punch holes at one end of the cardstock. Make sure they line up reasonably well like so:

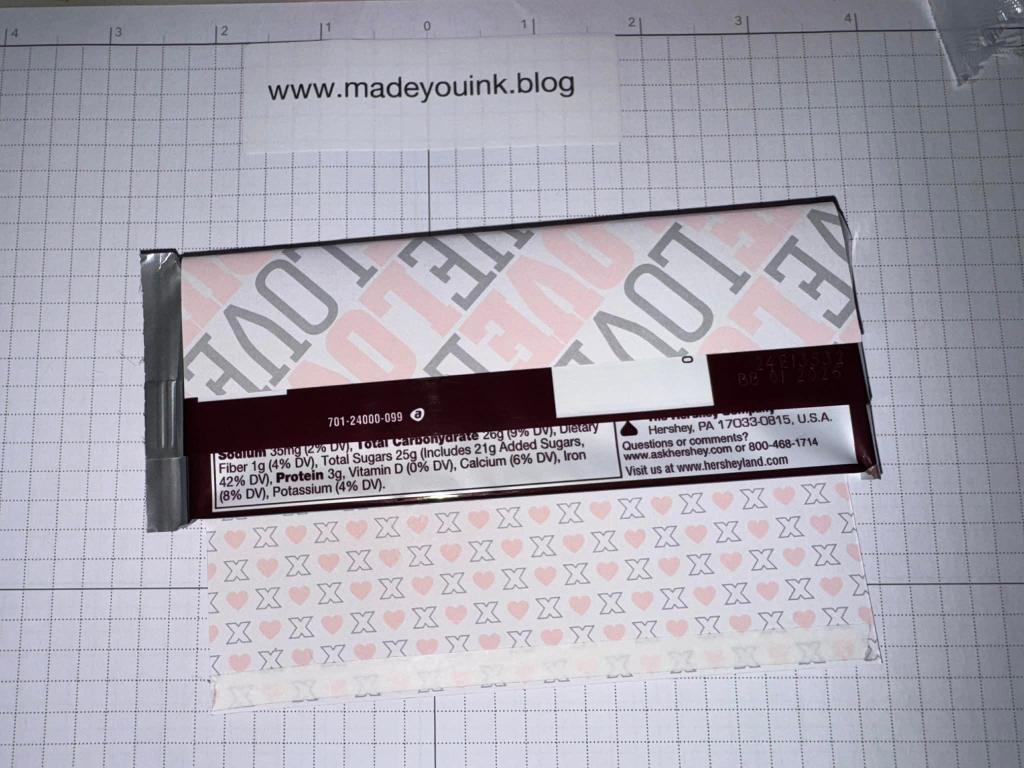
Let’s move on to the Designer Series Paper.
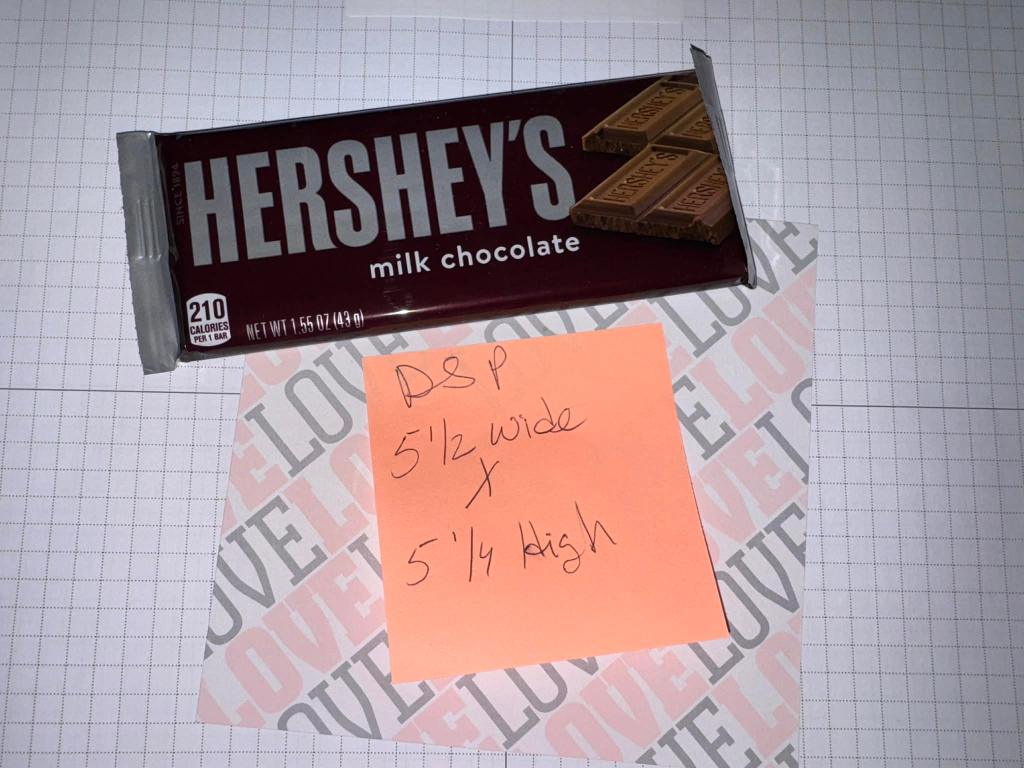
You’re just going to wrap this around your candy bar with Tear Tape starting with the back side.
Once you’ve secured the flap, you’ll need 20″ of ribbon to slip your candy bar into your sleeve. Run the ribbon through both holes.
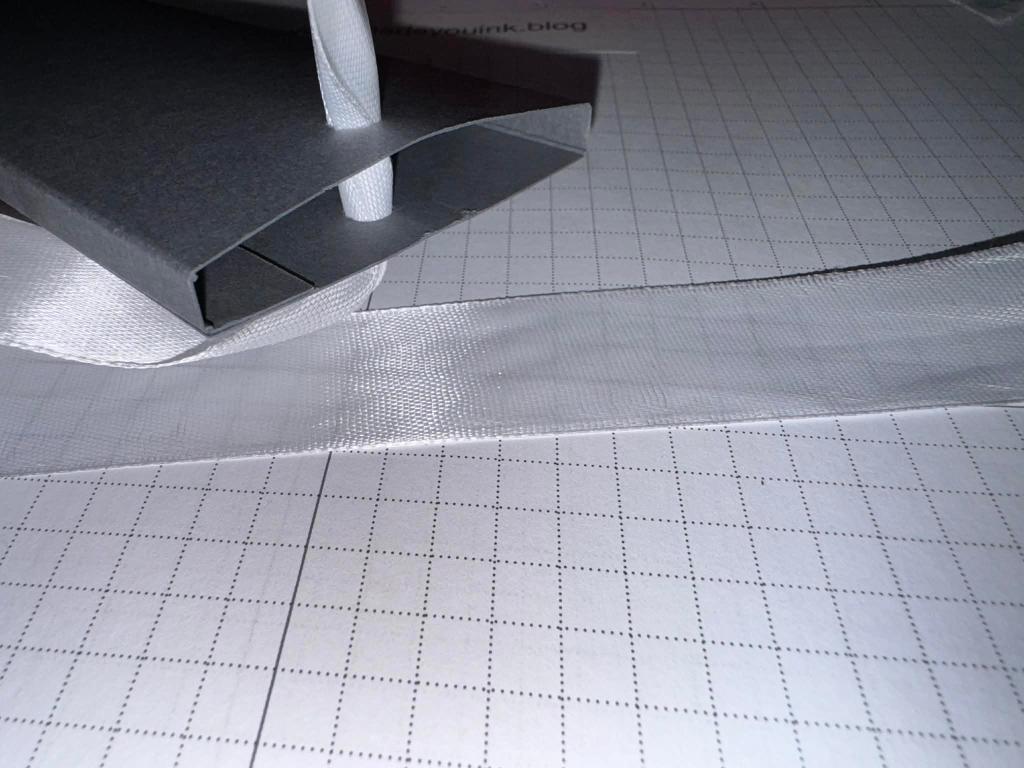
Then just push your candy bar down on top of the ribbon until it’s near the bottom of your sleeve.
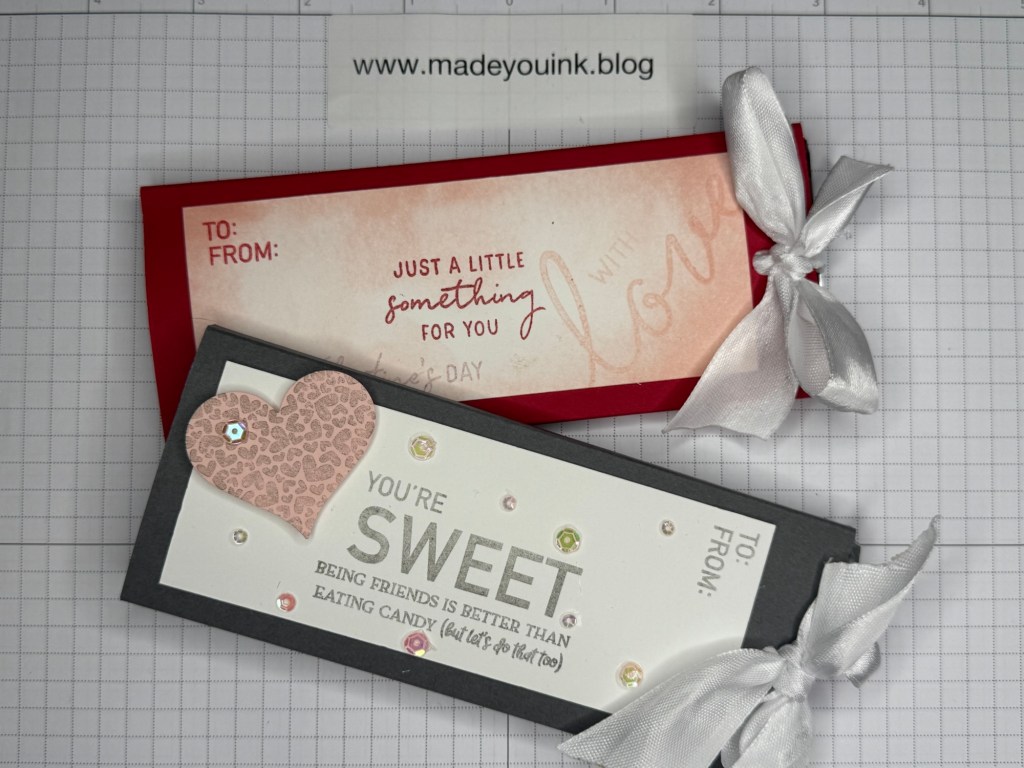
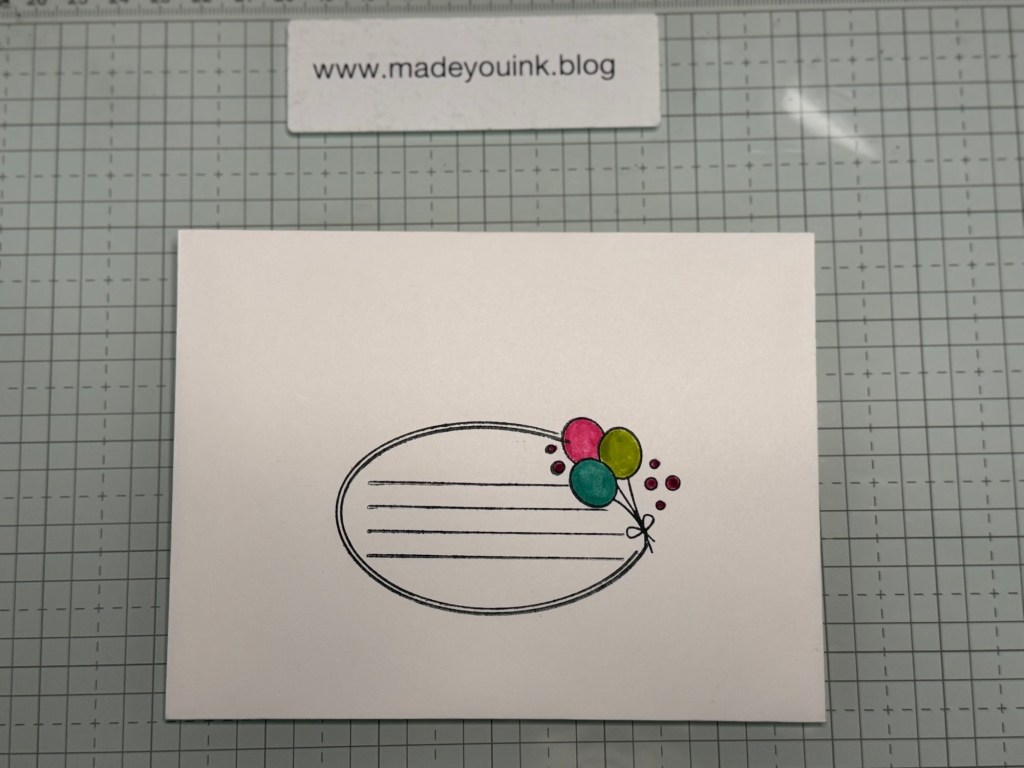
Next, it’s time to embellish! Let your heart guide you, there are so many things you can do with these. I cut white cardstock https://www.stampinup.com/products/basic-white-8-1-2-x-11-cardstock?demoid=2311688 5″ X 2″ and decorated it from there and then just used my Stampin’ Seal to adhere it to the front.
People are so impressed when they see how it opens, it’s not hard but it is a show stopper for sure!

Happy Stamping!


Leave a comment