One of my favorite “tricks” is to mask over items you don’t want stamped over. It’s a simple technique that I’ve used for years but here’s a few tips to ensure it’s quick and painless.
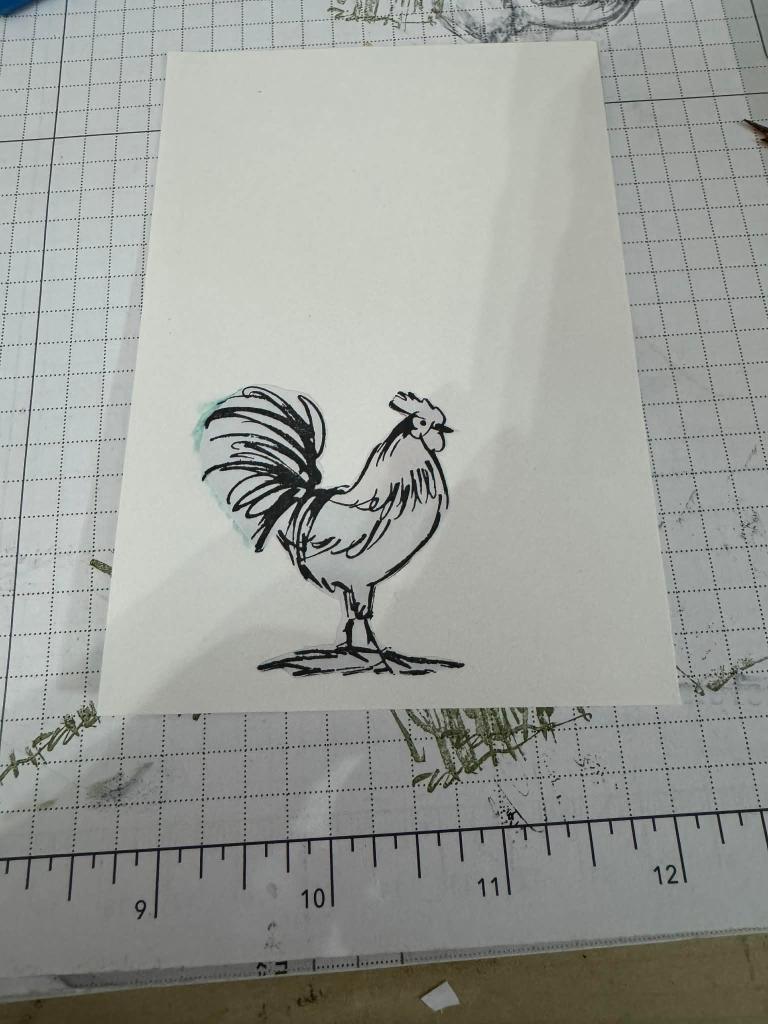
First, stamp your “forefront image”. Color if needed. Here I used Stampin’ Up! Water Color Pencils https://www.stampinup.com/products/watercolor-pencils-assortment-1?demoid=2311688 to color in my rooster from the (retired) Home To Roost set. If you’ve never used these pencils, you are missing out on a fast coloring option that allows you to blend, highlight and ombre.

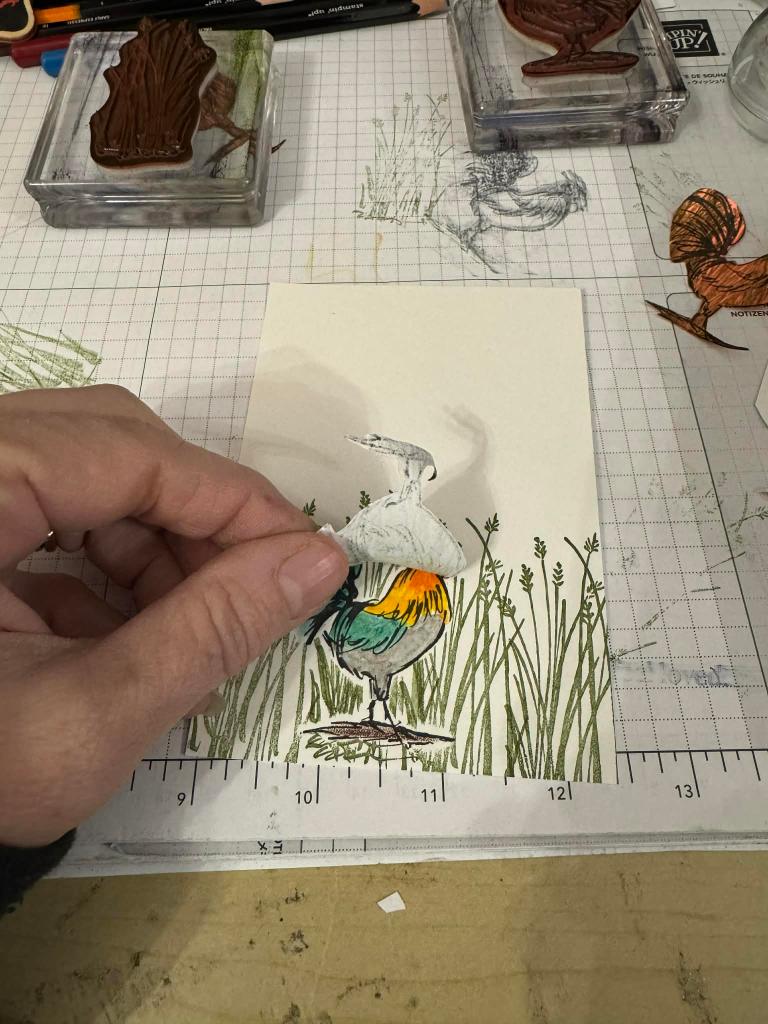
Next step is to stamp the SAME image on Stampin’ Up! Masking Paper https://www.stampinup.com/products/stampin-up-masking-paper?demoid=2311688 and place that image over your colored image. The masking paper is like a post it note but instead of that little strip of semi-stick, the whole thing is sticky.
With that in place, stamp your “background” images, like so:

Time for the big reveal!!!!!!!
Final step for this one is to blend with Blender Pen https://www.stampinup.com/products/blender-pens?demoid=2311688 to get rid of all that excess white space. Blender pens are like clear markers you can use with your Water Color Pencils or even with ink (more on that later).
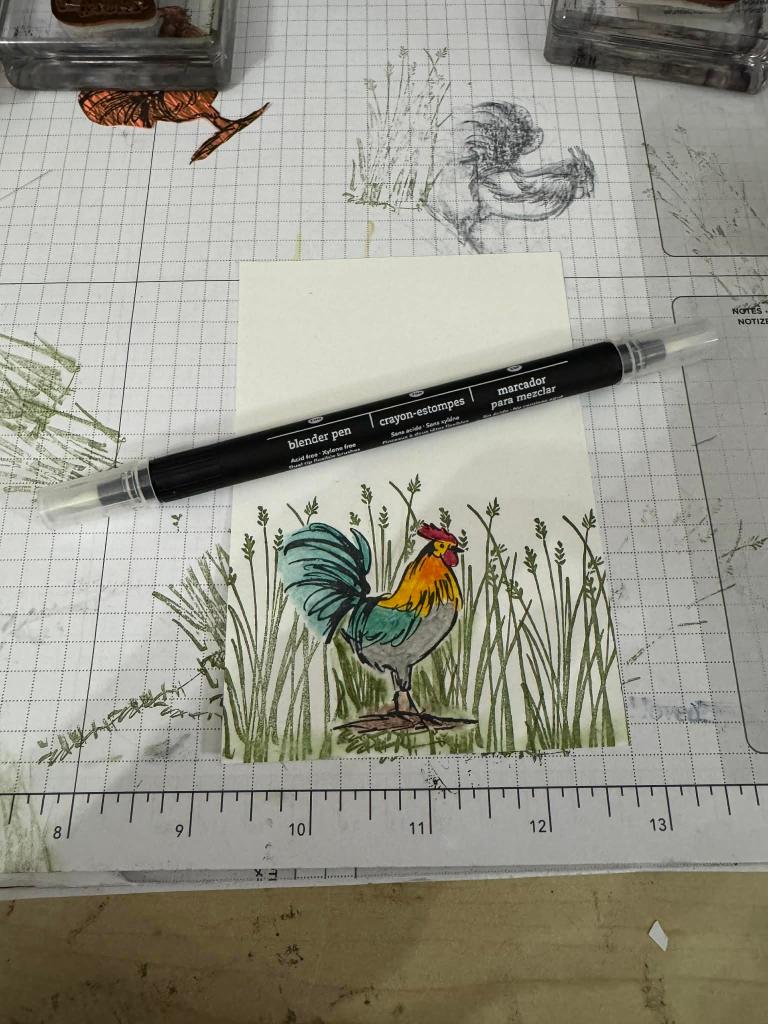
Then just stamp your sentiment and assemble your card. Easy-peasy….a full color card that looks a lot harder than it actually is.
Happy Stamping!


Leave a reply to Dawn Berreth Cancel reply